Installation on Windows
This section explains how to install SunriseWorkbench on Windows.
Installing SunriseWorkbench
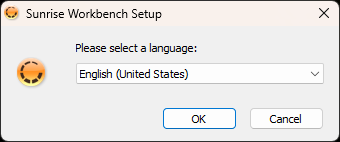
Step 1. Start the SunriseWorkbench installer. Select the installation language (English by default) and click OK.
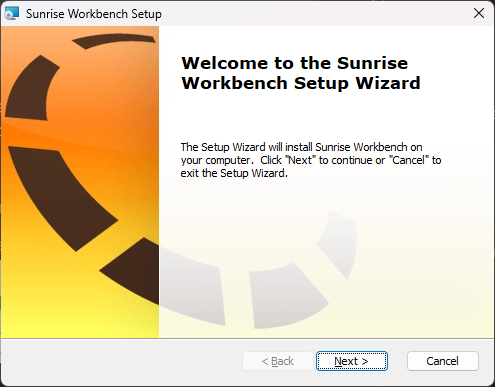
Step 2. Click Next in the installation wizard's welcome window.
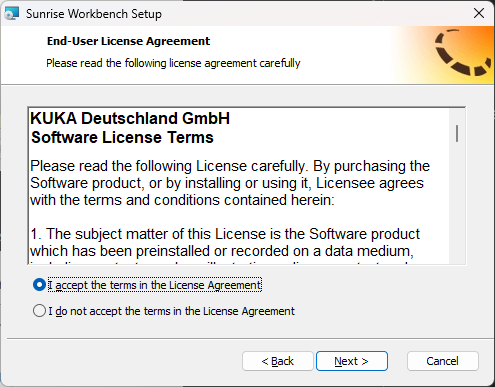
Step 3. Review the license agreement and accept its terms.
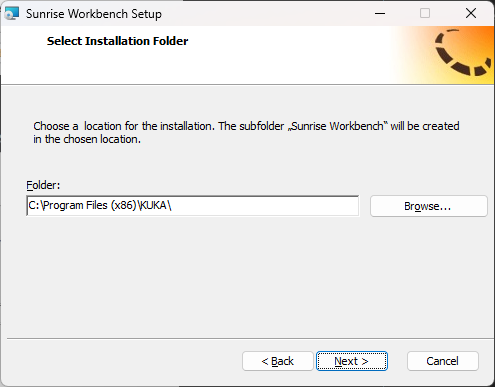
Step 4. Keep the default installation path unless you have a specific reason to change it.
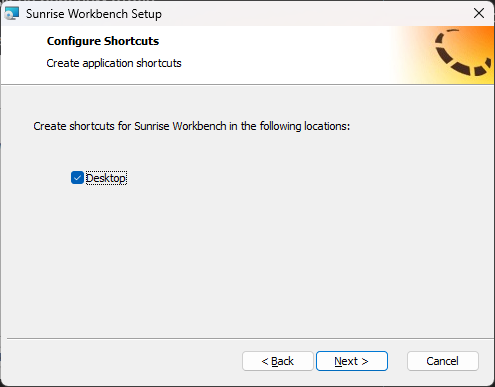
Step 5. Select Create Desktop Shortcut for convenient access.
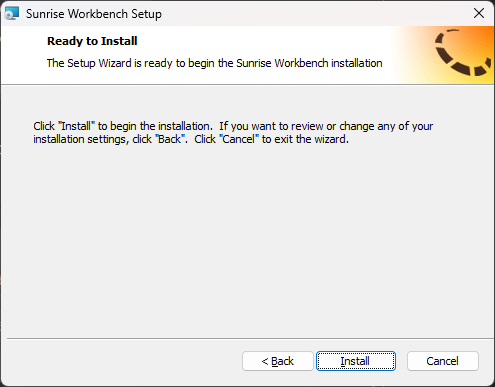
Step 6. Click Install and wait until all required components have been installed.
First launch
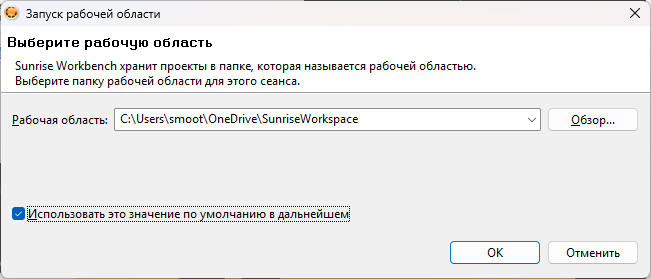
Step 7. On first launch, the application asks for a workspace path. Keep the default path and select Use this as the default and do not ask again.
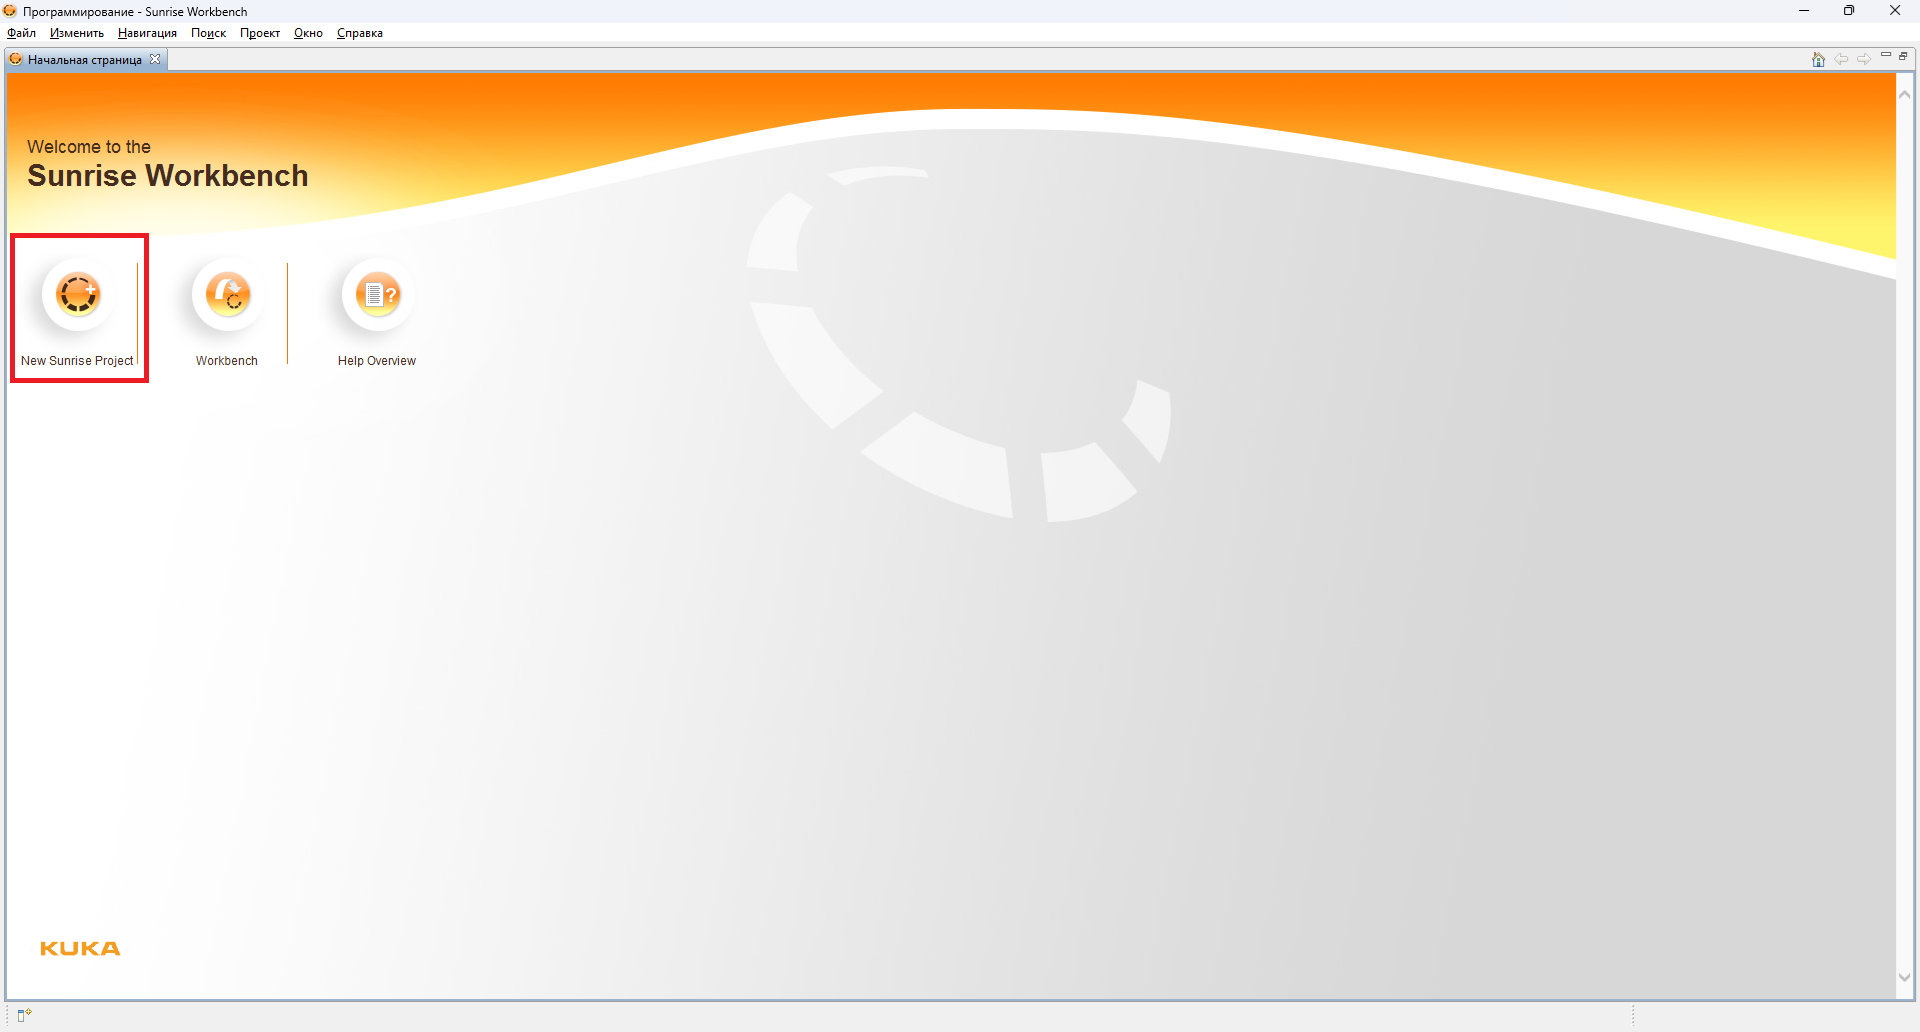
Step 8. After the main window loads, click New Sunrise Project to create a project.
Further configuration
See Creating a new project for project configuration instructions. You should also install the required libraries.