Installing libraries
Additional libraries distributed as .zip archives must be installed for the SunriseWorkbench project to work fully.
Prerequisite
Before installing the libraries, make sure that the project has been created or loaded. See Creating a new project or Loading an existing project.
Opening the settings
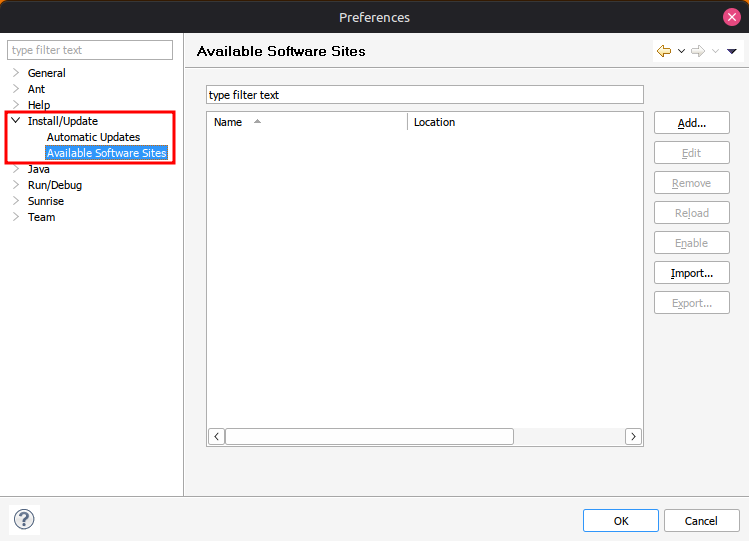
In the SunriseWorkbench main menu, select Window → Preferences. In the window that opens, go to Install/Update → Available Software Sites.
Adding library archives
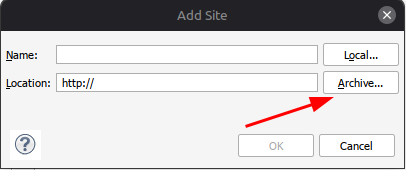
Click Add. In the dialog, click Archive... and add a library .zip archive.
Windows users
Use the standard file-selection dialog to locate and select the archive.
Linux users
Because SunriseWorkbench runs in an emulated Windows environment, use the following procedure to access the Linux file system:
-
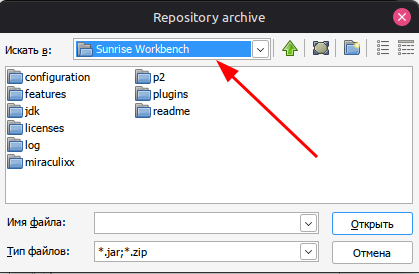
In the file-selection dialog, click Look in: and select My Computer.
-
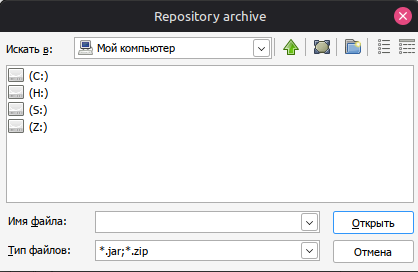
A list of mounted drives appears. It may contain more entries than the number of physical drives because of how the compatibility environment works.
-
Check each drive in turn. One of them contains the Linux file system (drive H in this example).
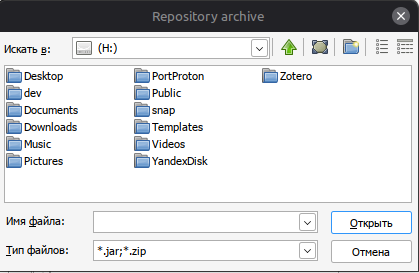
-
Open the directory containing the libraries, select one of the
.ziparchives, and click OK.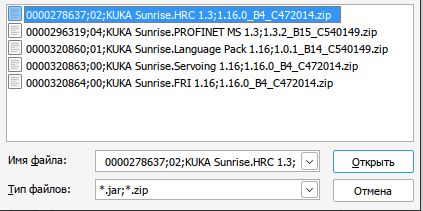
-
Confirm the selected archive by clicking OK in the next window.
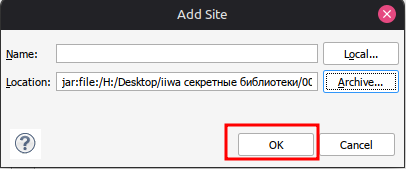
Adding the remaining archives
The archive appears in the Available Software Sites list. Repeat the procedure for every remaining library .zip file.
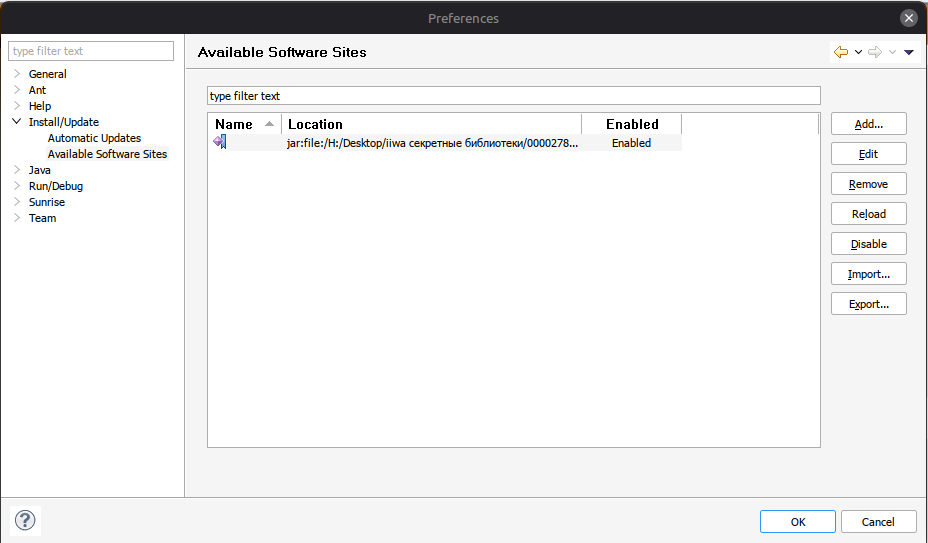
After adding all archives, click OK to save the settings.
Installing the libraries
Select Help → Install New Software... from the menu. In the Work with field, select All Available Sites. Components from all added archives appear in the list.
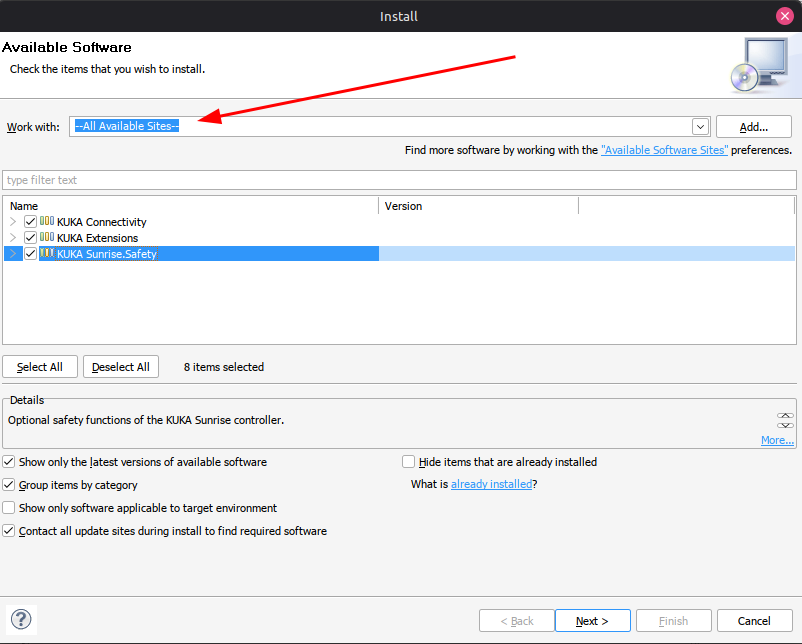
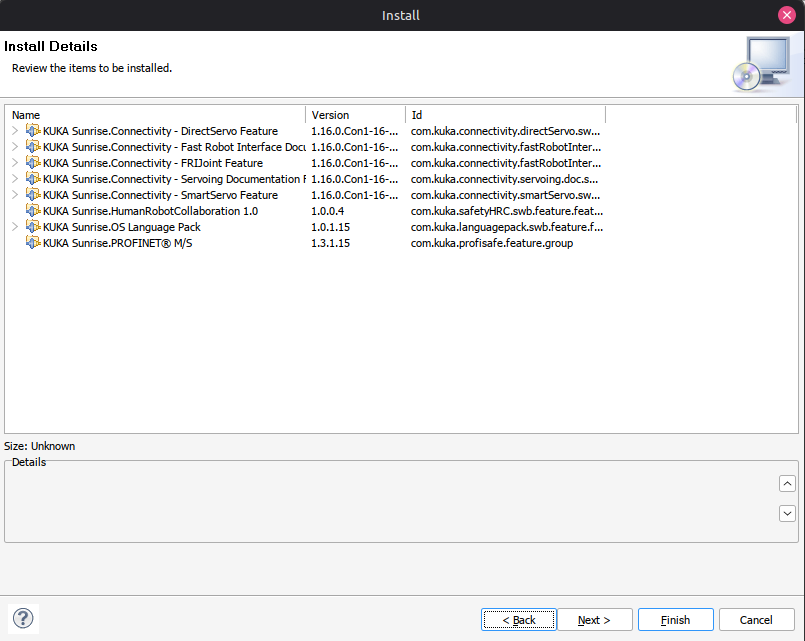
Select every available component and click Next. Review the installation summary and click Next again.
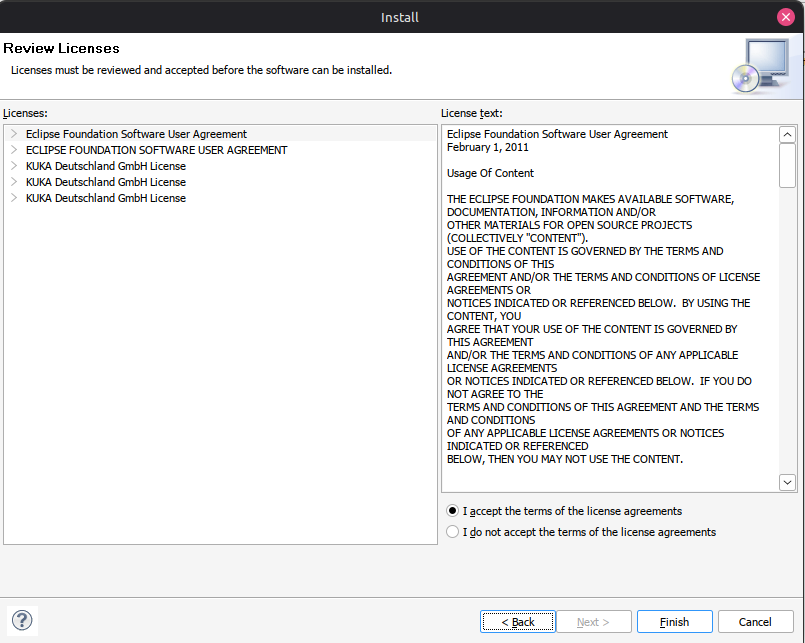
Accept the license agreements and click Finish to begin installation.
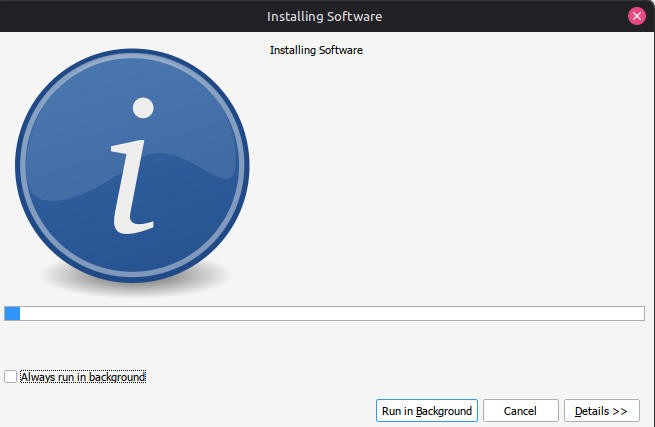
Installation duration
Installing the libraries may take a significant amount of time. Do not interrupt the process.
Restarting the application
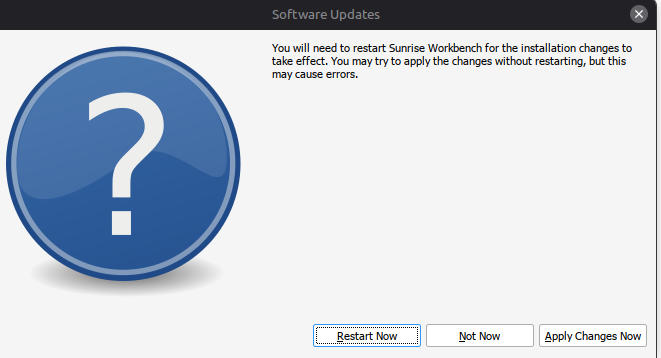
When installation finishes, SunriseWorkbench prompts you to restart. Click Restart Now.
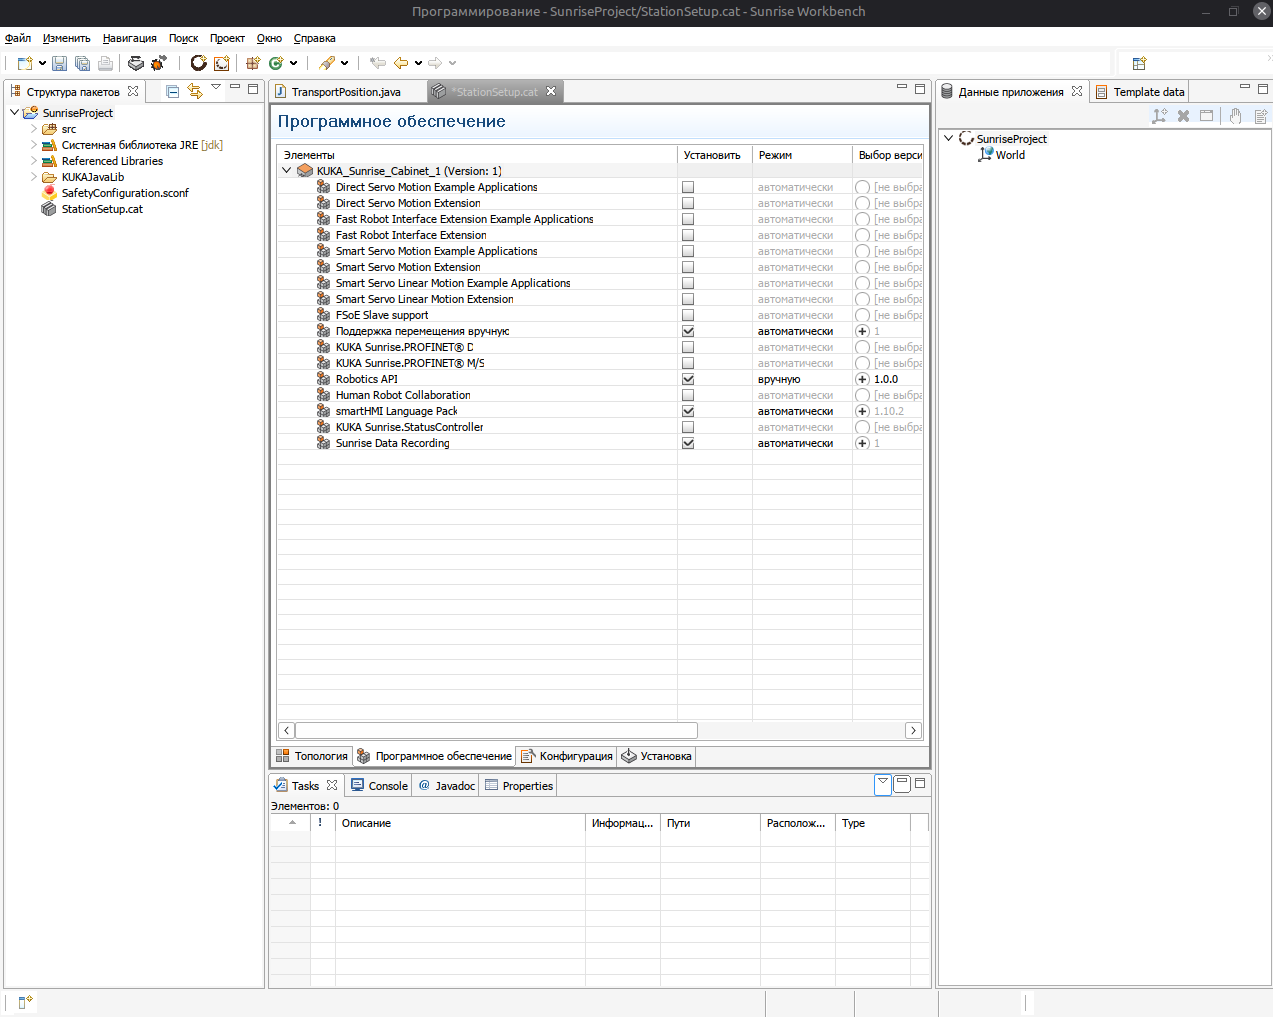
After the restart, the interface switches to Russian and all installed libraries appear in StationSetup.cat.
Next step
If the project has not yet been configured, see Creating a new project or Loading an existing project.